Vehicle Extrication
RESCUE
A systematic approach to a complex problem. Part three of a series.
In the first and second articles of this series [Fire Engineering, November, December 1988], seven of the eleven steps to a successful vehicle extrication operation-preparation, response, assessment, hazard control, stabilization, primary access, and secondary access-were discussed and explained. This final installment will address the final four phases: disentanglement, packaging anti removal, cleanup, and evaluation.
DISENTANGLEMENT
When asked to describe the essence of vehicle rescue, many firefighters will respond by saying, in effect, “We cut people out of wrecked cars.” This is not true. The idea is to cut the vehicle away from the people. With the tools and technology available today, vehicles can be completely dismantled, piece-bypiece if necessary, to remove the entanglement and free the victims.
Seats may move forw ard or rearward during an impact, entrapping victims against dashboards, steering wheels, or other interior car parts. The scat assemblies must be moved or removed to free the victims.
Before using tools to move the seats, try the seat release. It may still work after impact. On cars with power seats, reach under the passenger side of the seat; there is a wire on some models that, if pulled, releases the seat, allow ing it to slide on its track.
If the seat will not move as it is meant to, several options are available to rescuers. Power jaws, hydraulic rams, jacks, come-a-longs, and hand tools are the most common choices.
With power jaws, you can either force the seat to move on its track, or remove the seat from the vehicle. By placing the jaws horizontally between the “A” post and the seat frame, the seat can be forced rearward. By placing the jaws between the seat frame and the “B” or “C” post, the front seat can be forced forward. By placing the jaws under the seat frame vertically, the seat can be pushed up to the point that the bolts holding the seat to the floorboard arebroken. Doing this to both sides of the, seat will enable you to remove it altogether, thus freeing a victim who’s ei ther on it or partially underneath it.
The same procedure may be followed using hydraulic spreaders, jacks, of rams. Use the posts of the vehicle as; strong points and force the seat in the direction necessary.
If a come-a-long is to be used, hook it up for an across-the-hood (or acrossthe-trunk) pull as described in the sec’1′ ond article of this series. Wrap chain around the seat frame and work the come-a-long to force the seat.
A word of caution about come-alongs: Chain models are preferable to those that employ cables. If a chairt under a heavy load breaks, it will whip around and possibly hurt someone, but a cable under stress that breaks and whips around could produce a fatal cut-a broken cable is much more lethal than a chain. If you must use a cable model, lay bunker coats or heavy blankets along the cable while it is ^nder a load. This may help to minimize injury should it break. Another advantage of chain over cable is that chain does not have to be stored quite as carefully as cable. Cable stored in a tight space will develop kinks and frays. Chain, on the other hand, can be folded into a smaller storage area.

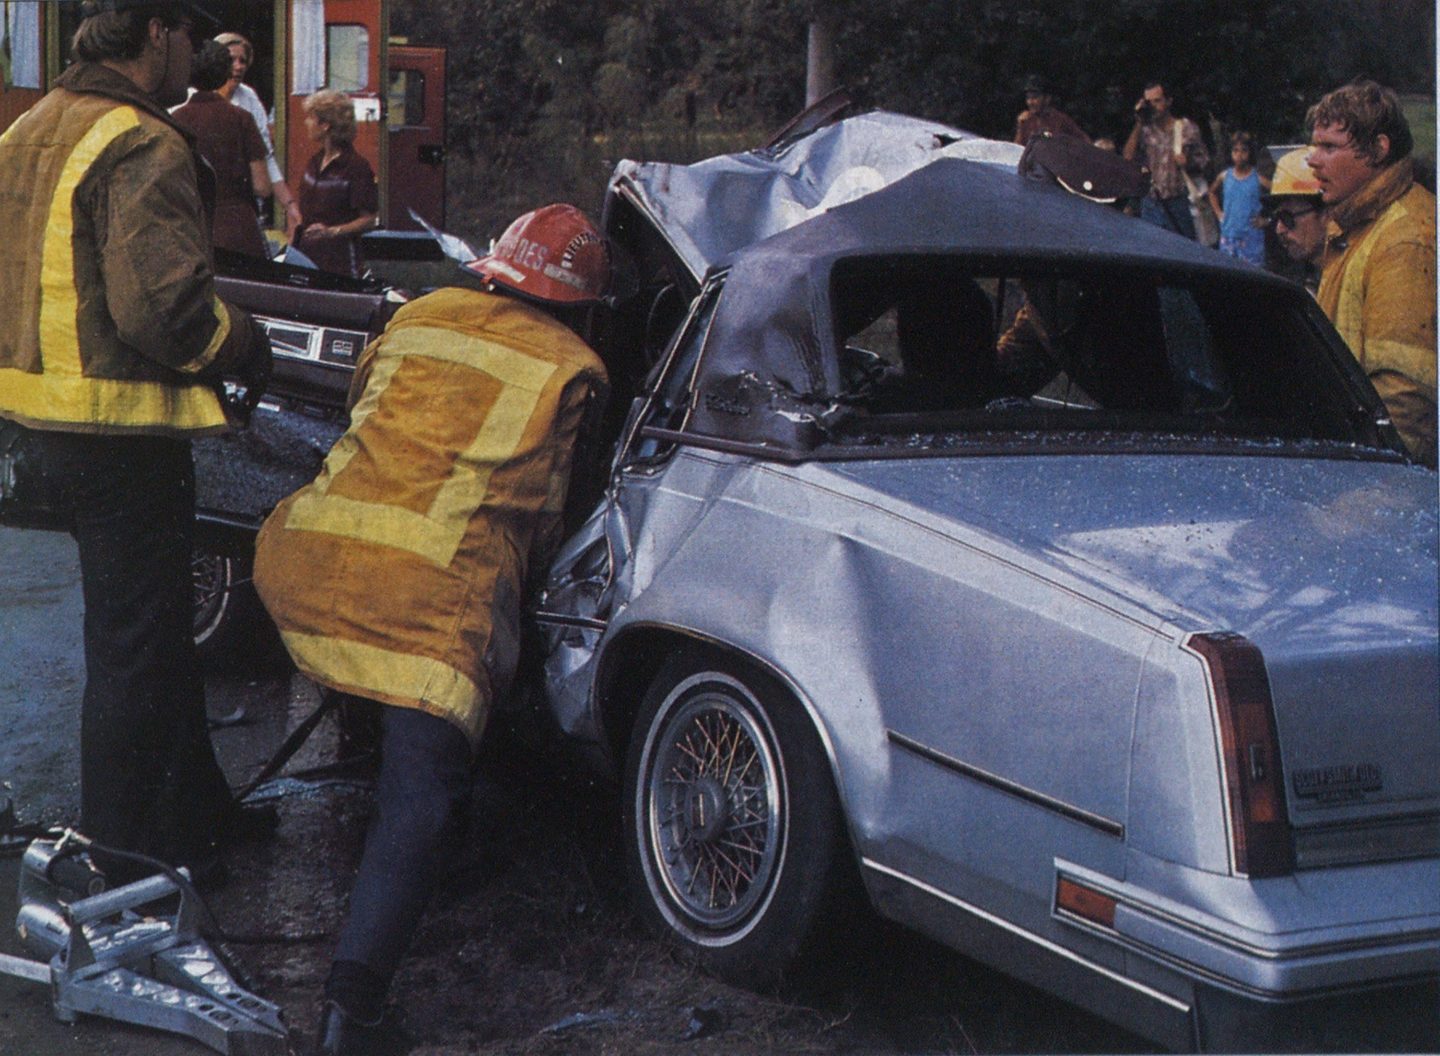
Photo by Byron Rhodes.
Do not use a “cheater pipe” on the handle of a come-a-long to assist in its operation. Come-a-longs are designed so that the handle will bend before the chain or cable will break. A pipe will prevent bending of the handle, negating the built-in warning signal that the tool is overloaded and may fail.
If hand tools are to be used to move seats, simply reach under the seat and unbolt it from the seat track or floorboards. Socket wrenches work the best, but keep in mind that you will need both standard and metric sockets to deal with today’s cars and trucks.
Obviously, all fractures-but most importantly, spinal fractures-must be immobilized before any attempt is made to move a seat that is occupied by a victim. Medical personnel must closely monitor patients while seats are being forced to watch for any signs of discomfort or fracture movement.
Seat belts and shoulder harnesses may cause entanglement but are easily dealt with. Try to release the belt normally. If you arc unable to release it, cut it. Any sharp knife will do, but the commercial seat belt cutters on the market today are the most efficient.

The steering column becomes a factor in many vehicle extrication operations, either because it has collapsed during impact, or to make more room for medical people to work on and immobilize victims. Again, there are several options to use.
Many vehicles are equipped with a tilting steering wheel. If so, try to tip the wheel up out of the way. This will often provide the room necessary to work or remove the victim.
If a little room is needed and the steering wheel will not tilt, cutting the bottom off the steering wheel may be the answer. It can be cut with a saw, power shears, or bolt cutters. In most cases, bolt cutters are the easiest to use. Use locking pliers to break away the plastic from around the wheel at the two locations to be cut; simply grasp the plastic around the core with the pliers and twist back and forth several times. The plastic will break away, exposing the metal. Then simply cut the metal.
The spokes that connect the steering wheel to the column may also be cut, allowing you to remove the steering wheel from its post. Do not even consider unbolting the wheel to remove it. This takes a special wheel puller and a lot of time.
If the column has collapsed down onto the victim, it may have to be pulled out of the way. The subject of moving steering columns was very thoroughly covered by Ronald E. Moore in the January, February, and March 1988 issues of Fire Engineering; consult them for reference on this subject.
The dashboard may entangle victims, and may need to be cut out in sections or displaced entirely to facilitate splinting or packaging of the patient. If cutting a small portion out of the dash is the chosen route, an air chisel or hacksaw’ works fine. If it must be displaced, two options are available.
The best way to displace a dashboard is with power rams or power jaws. Remove the door completely. Then cut a V-shaped notch out of the “A” post just below the bottom of the dash. Next, cut a V-shaped piece out of the rocker panel approximately one foot from the “A” post, and place cribbing under this notch to prevent collapse. A third cut is needed at the bottom of the “A” post at the point where the post connects to the rocker panel. Try to sever the “A” post completely; however, this will not be possible on most vehicles.
After protecting the victim(s) with spine boards and blankets, place one -end of the ram or jaws in the first cut at the top of the post. Place the other end of the tool in the notch cut in the rocker panel and spread the tool.
Upward pressure from the tool on the “A” post will displace the dash up and out. By doing this on both sides of the vehicle, the entire dash can be pushed up and out of the way. Usually, however, only one side will need to be displaced to accomplish disentanglement.
A second but less desirable method of dashboard displacement is performed with a pulling maneuver (across-the-hood pull) as described in part two of this series (December, 1988). After removing the windshield, a hole must be cut though the dashboard so that a chain may be placed around the framework of the dash, and cuts must be made on the “A” post similar to the displacement method using power jaws or rams. Then the dash can be pulled up and out from the passenger compartment. Many vehicles have a weak dashboard that will make this method less efifecJ* tive-a weak dash will pull up where ^the chain is wrapped, but the ends will not move much.


It is possible to displace the steer„ ing column and dash together. In ‘some vehicles, the steering column will displace while the dash is being ^forced with rams or jaws. Larger, older cars have very strong columns, requiring that the two operations- across-the-hood steering column removal and dashboard displacement- be conducted simultaneously.
Foot pedals in vehicles can cause entanglement. On some vehicles, pedals and assemblies may be unbolted and removed. If condition of the victim, extent of damage, and time permit, this method may be preferable. However, most pedals are best forced to one side or the other using power jaws, rams, or portable hydraulic units. If power tools are not available for this operation, a chain or utility rope may be affixed to the pedal and then around a partially closed car door. Manually forcing the door open again applies the force of the door’s weight and the inertia of the rescuers’ efforts sufficient to move the pedal out of the way. This option should be exercised only in the absence of proper power tools. If the vehicle is not properly cribbed, it will rock violently from side to side w’hen the door is ^shoved.
Another entanglement often encountered is that in which a victim’s head protrudes through the windshield. A head that’s propelled through a laminated windshield is similar to putting your finger through a heavy plastic bottle: the lamination gives enough to allow the head to pass through, then closes up around the neck, preventing withdrawal, just as a plastic bottle seals around a finger.
First and foremost, suspect spinal injury and work closely with the medics to disentangle the patient. While the patient’s head and neck are stabilized, gently break pieces of the windshield away from the neck area. As soon as enough room is created, a cervical collar should be applied, and towels wrapped around the victim’s head and neck to protect him from further cuts. Then pull more of the glass away from the head and neck until the patient can be properly immobilized, protected, and removed.

PACKAGING AND REMOVAL
Once victims are free from all entangling parts of the vehicle, they must be properly packaged-this includes bandaging, splinting, spinal immobilization, and weather protection-and carefully removed from the wreckage.
Granted, packaging and removal is first and foremost the responsibility of medical personnel and not the rescue team, but the medics are going to need help. Rescuers must be prepared to provide extra equipment and muscle to assist in getting victims on their way to a treatment facility.
Any patient with a chance of a fracture should be moved on a long spine board. Deceased accident victims, although they are the last to be moved unless it means facilitating the removal of a living victim, should be handled with the same care and respect as living patients. Cover them and remove them on boards also. Your show of professionalism means a lot to the public and family who may be watching. Also, try to shield victims from bystanders by using tarps or salvage covers as screens.
Investigation of a fatality must be thorough, and police and medical examiners need as much information as possible. Do not move a body, if it is not necessary to do so, until a coroner or medical examiner gives the goahead. If you must move a deceased person, make careful mental notes about the position of the body and its condition before you move it. Any physical evidence (such as drugs or alcoholic beverage containers) should be left in place. Notify officers at the scene, and let them handle the evidence.
CLEANUP
This may sound like an elementary phase, but it is important. You work too hard to obtain your rescue equipment, only to lose it by sloppy or hurried cleanup. Take a quick inventor)’ of all tools. Make note of anything that was broken and of all expendable items that will need to be replaced. Small tools dropped into mud, snow or tall grass, or accidentally dropped down a hill, may be difficult to find.
When breaking down cribbing, keep in mind that the vehicle was unstable before it was cribbed, and will become unstable again when you are uncribbing it. Don’t get careless now that the rescue is over!
The bottom line to the cleanup phase is get the vehicle and equipment ready for the next call.
EVALUATION
Objective critique can be a very effective training method if it is properly conducted. Line officers must evaluate the performance of all involved personnel and, in an atmosphere of frank discussion, examine different ways that the rescue might have been better handled.
Target the newer members on the response team. Ask them if they understood everything that was done, and why it was done. Ask for their input and questions. Some rescue procedures may have been very new to them.
Officers must practice tact and diplomacy. Remember the basic principal of leadership: Praise in public, criticize in private. Examine all procedures accomplished and discuss alternate methods.
By conducting a good critique after each call, the entire department is able to grow and learn from each experience.
Officers must also complete a detailed report. Include the make and model of all vehicles, what was done to each vehicle, and the names and positions of each victim. You may get called to testify in court on accidents that occurred several years before, and you cannot rely on memory to give clear, accurate testimony. You must have an accurate report to fall back on.
The goal of this series of articles was to provide an understanding of the steps and procedures basic to vehicle extrication operations. Knowledge and application of the basics gives the rescue team the foundation with which to deal with any crash situation safely and effectively.

