RESCUE CHAINS
RESCUE

The weakest link on the vehicle rescue scene

IT’S LATE AT NIGHT when your unit is called to a vehicle accident. From the sound of the dispatch everything is routine, so you have no special worries—until you arrive at the incident. A compact car is underneath the side of a flatbed trailer, and the occupant of the car is still alive!
All of your crew’s training and skills come into play in this situation. The flatbed trailer is raised by the rams of your heaiy hydraulic rescue tool, and the car is connected to your pumper with chains that haven’t been used for some time. The crew skillfu lly pulls the car just free of the flatbed.
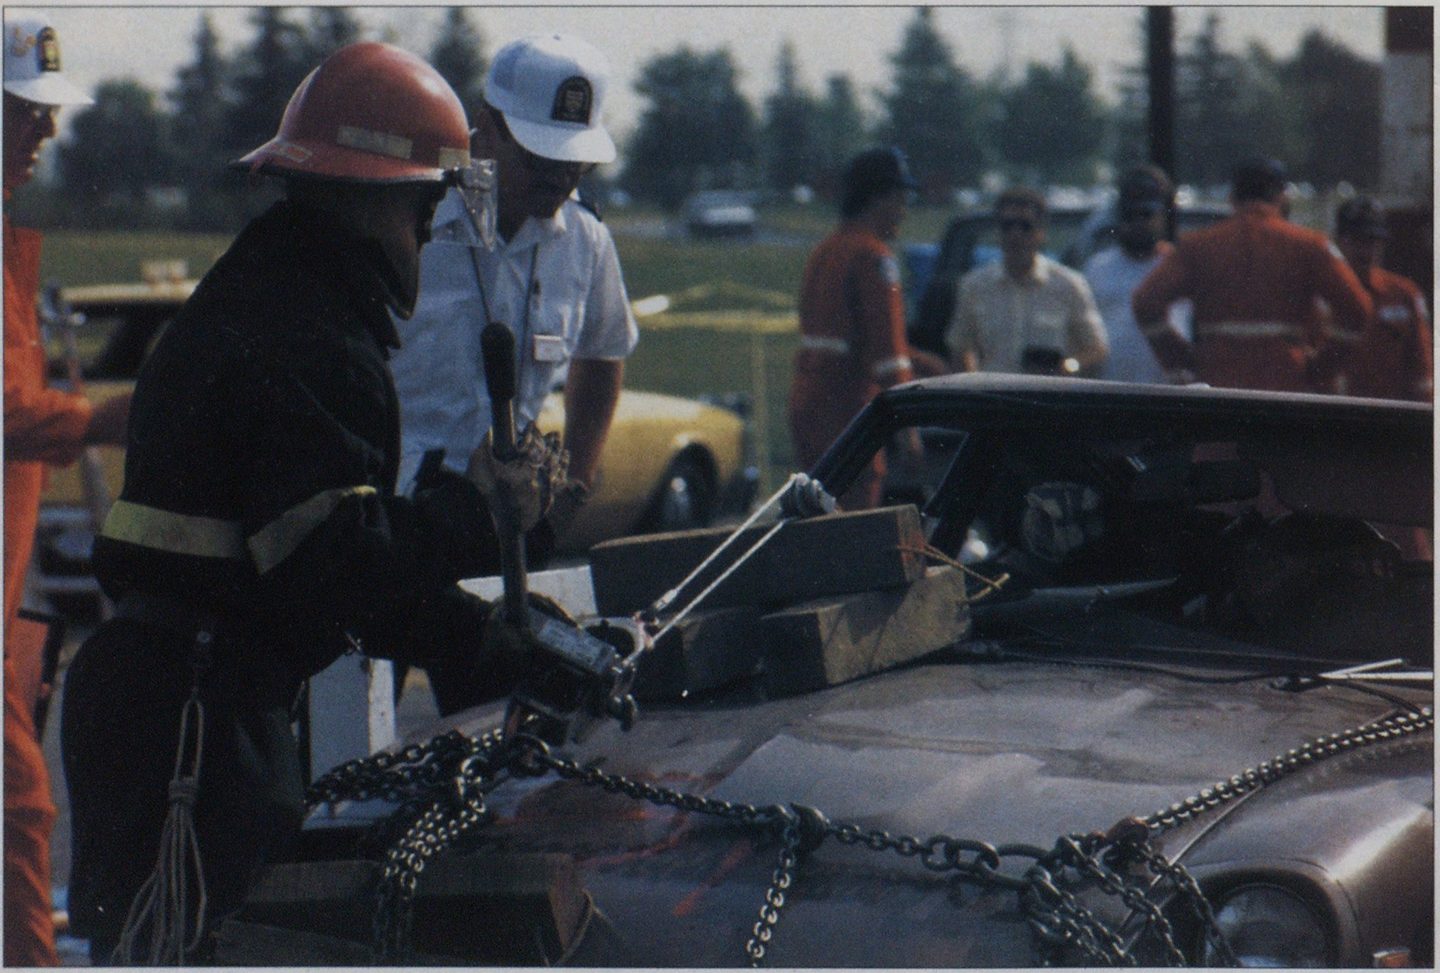
Then the members go to work, flapping the roof and pulling the steering column away from the trapped patient. Again chains are used, but a different kind than those used to pull ⅝the vehicle. This special set is made in a sling-type configuration, and is designed to connect and pull objects and wreckage from the vehicle. Your crew last used them a few weeks ago with a come-a-long winch to displace a driver’s door.
Tonight, the rescue chain sling set is attached to the front of the car and the steering column. Using a come-a-long winch, the steering column is pulled away from the patient, freeing him. Then the patient is stabilized, packaged, and removed from the vehicle, placed on a rapid transport helicopter unit, and taken to the nearest Level One trauma cen ter hospital. The operation has taken about twenty minutes, and the patient is now well into the emergency medical care system of your community.
The crew did a good job—there were no major problems on this call. But think about what could have happened, where things could have gone wrong. When were the chains last inspected? What are good chains made of? Does your department know what to buy? These questions may quickly turn your attention from your successful operation to the awareness that your crew may have been using defective chains that could have failed at any critical moment.
Of all the rescue tools used at a vehicle rescue scene, rescue chains and chain sling assemblies are, and always have been, the most underrated and, unfortunately, the most poorly maintained. Additionally, there is very little information available in the fire-rescue field pertaining to chains that are designed for use in emergency pulling and lifting, and there are no American standards that regulate this potentially dangerous piece of equipment. Rescue chains and chain sling assemblies are indispensable, vital tools of the vehicle rescue operation, and we must begin now to better understand them, their use, and their care.
For the purpose of discussion, let’s define what is meant by the term “rescue chains.” Usually provided in pairs of one six-foot sling and one nine-foot sling, they are the connection points for the lifting and pulling tools used to effect the movement of wreckage and metal away from the patient area. They may also be used to tie down unstable vehicles. Other uses are defined only by your experience, imagination, and ingenuity.
PARTS OF A RESCUE CHAIN SLING
There are six major parts to a rescue chain sling. They are:
- The chain itself. This should be made of Grade 8 (also referred to as Grade 80) alloy steel chain capable of handling a working load limit designed with a 4:1 safety factor. Grade 8 alloy chain is generally the best quality chain available. It not only has great strength, but it’s also able to absorb shock loads better than any other grades of chains with the same strength. A rescue chain should be ductile, meaning that it will tend to give or stretch slightly under a load instead of suddenly snapping. Rescue chain slings usually are provided as pairs of chains, one unit being about six feet in length and the other being about nine feet in length.
RESCUE CHAINS
- Hooks. The hooks on a rescue chain sling can be either the clevis, or snatch-type, or the open-type hooks, depending on the particular needs of the rescuers.
- The round or oblong link. This portion of the sling is designed to attach to the pulling tool or lifting device.
- Component connector. This connects the chain portions to the round or oblong link.
- Chain shorteners. This component of the chain sling assembly is specially designed to take up slack or effectively “shorten” the chain. These can be either a clevis or snatch-type hook on a short, threeor four-link attachment to the round or oblong link or a specially designed component that takes up slack in-line on the chain as it is being used.
- The identification tag. This is an important nonworking part to this assembly. It is permanently attached to the chain sling. This tag is vital for keeping track of the individual chain so that proper records can be maintained. We must keep records of our chains, their inspection, and condition. Keeping track of this information will give us the ability to make intelligent, economical decisions as to their care and eventual replacement.
These are the six basic components of a rescue sling assembly. It should be remembered that each of these parts, except for the I D. tag, must be rated as strong as the chain itself. Otherwise, failure may occur at these points on the sling.
PARTS OF A RESCUE CHAIN ASSEMBLY
There are three major parts to a simple rescue chain assembly:
- The chain itself. This is the actual chain links of the assembly. These links should be made of the same materials as the rescue chain sling links. These assemblies may be of any specified length, designed according to their anticipated use.
- The hooks. These may also be the clevis or snatch-type hooks or the opentype hooks, depending on the job objective of the assembly.
- The identification tag. Refer to the chain sling assembly for I.D. tag information.
APPLICATION OF RESCUE CHAIN SLINGS AND RESCUE CHAIN ASSEMBLIES
Chain slings are often used as connector points for pulling tools, the most common of which is the rated come-along winch. This tool is used by rescuers to relocate doors, steering assemblies, front seats, roofing, brake pedals, and dashboard assemblies. Rescuers may use chain sling assemblies to connect powered winches from rescue vehicles and/or tow tracks to relocate wreckage.
Though a less common application, chains may also be used as connector points for lifting wreckage and objects.
Finally, these assemblies may be used to stabilize vehicles or other unstable objects to make it safer for rescuers to operate.

Photo by Steve Kidd.

Photo by John Czajkowski.

Photo by Steve Kidd.
Powered hydraulic tools designed to produce spreading and pulling forces of up to 20,000 pounds will have chain slings provided by the manufacturer to be used as a connector to the wreckage. Because they are usually equipped with ends and connectors designed for use with specific tools, they shouldn’t be used in makeshift ways for which they were never intended. Follow usage practices outlined by the manufacturers.
GOOD RESCUE CHAIN SLINGING PRACTICES
Before we can discuss rescue chain practices, the term “working load limit” must be understood. The working load limit (WLL) of chain is the maximum mass that the sling has been designed to raise or pull. If working conditions are less than desirable (which can be quite common on the rescue scene), the rescuers must consider that the WLL will depreciate. Conditions that affect the WLL are extremes in temperature, the possibility of severe shock loading, or working in and around patients while pulling.
- Tip loading of hooks. Open hooks are designed to support the load in the bowl of the hook. Be sure the hook engages freely at the lifting or pulling point so that the load’s weight or force acts along the designed line of force in the bowl of the hook. Forcing the hook tip into the pulling point—where the load does not rest in the bowl—may damage and deform the hook, as well as cause complete failure.
- Always remove twists from rescue chain assemblies while preparing to pull or lift. Never knot a chain; this doesn’t allow the line of force to pass along the links of the chain as it was designed to do, and premature failure or damage may occur.
- Chain that is bent under load across a sharp corner of wreckage (for example, the front bumper of a vehicle while pulling the steering assembly) is being stressed against its designed strength. This can be somewhat alleviated by placing wood cribbing at the point of contact between the chain and its load.
- A rescue chain sling breaks for one of two reasons: Either the chain was too light for the force applied, or there was a sudden application of a load which, except for the shock of sudden application, the chain normally would be able to handle. Always lift or pull with chains slowly to reduce the hazards of shock loading.
- Try not to pull chain along pavement when the chain is under load. This exposes the chain to unusual damage and may lead to its failure while under pulling force.
STORAGE OF RESCUE CHAIN ASSEMBLIES
Rescue chains should be stored in a hanging position so they can be easily inspected daily for rust and corrosion. They should also be kept clean with a thin coat of oil applied to the whole assembly to prevent corrosion while in storage. If chains must be stored in boxes or bags, be sure to inspect them often for dirt and corrosion.
INSPECTING RESCUE CHAIN SLINGS
Rescue chain sling assemblies should be inspected periodically—at least once a year—and after each use on a rescue scene. This job should be assigned to a responsible person in the department to ensure good inspection. Chain sling assemblies found to be defective should be removed immediately from service and returned to the manufacturer or dealer for reconditioning.
Written procedures for inspecting chains and chain assemblies should be adopted by rescue agencies. Records of inspections and conditions found must also, of course, be maintained.
Chains should be inspected for:
- Wear
- Nicks and gouges
- Stretch or elongation
- Localized bending or deformation.
A recommended procedure for performing an inspection is as follows:
- Clean each rescue chain sling prior to its inspection. Dirty chain will hide defects that may be obvious on a clean chain.
- Each leg of the assembly should be measured to make sure that the length corresponds with the length stamped on the chain ID tag. An increase in length of more than three percent indicates possible overload damage to the chain.

RESCUE CHAINS
- Check each chain link for excessive wear, twisted or bent links, cuts, nicks, or gouges, and stretched links. If wear exceeds 15 percent of the original diameter of the link, the chain should be removed from service. A five percent stretch on any link should be considered the maximum allowable.
- Inspect the master links, couplers, and load pins for wear or damage. If wear on any of these components exceeds 15 percent of the original materials, remove the chain from service. For example, the load pins of a particular assembly were 1/2-inch in diameter when the unit was new; now they are 3/8inch in diameter at a worn spot. Should they be replaced? Yes. This would be about a 25 percent reduction in diameter.
- If hooks have been stretched out more than 15 percent of their original opening width or twisted more than 10 degrees from plane, then they should be removed from service.
- Attach a “Danger Do Not Use” tag on any assembly taken out of service.
- Any chain assembly taken out of service should be returned to the manufacturer or dealer as soon as possible for reconditioning or replacement.
RESCUE CHAIN SLING RECORD CARD
It’s recommended that a card record file be maintained on the status and inspections of each chain sling assembly and chain. These cards should record the date of purchase, serial I.D. number of the sling, the type of chain assembly, size links, length of the assembly when new, the working load limit of the assembly, the supplier, as well as inspection dates and condition of the chain sling assembly.
There is a severe need in the U.S. for a standard for rescue chains and rescue chain sling assemblies. To date, there are only manufacturers’ recommendation for chains.
Are we working with safe chain assemblies? Who can best guide us in selecting adequate chain assemblies? These are critical questions that must be addressed. Meanwhile, there are several things we can do to reach a minimum level of rescue chain adequacy.
We must go to our rigs immediately and inspect our chains. Many of us will be shocked to see the present state of these chains that might be used to connect heavy loads to our tools.
Contact local suppliers of chain slings and obtain all available data on chain assemblies and materials. This will provide the proper information for making intelligent chain assembly purchase decisions in the future. The information may also be used to develop a rescue chain safety practice procedure.
Train all personnel who may be called upon to use rescue chains as to their proper use and care. Practical training with the chains and tools that will be used when the emergency arises is recommended. Perhaps we should consider having designated personnel, certified by the manufacturer, to inspect our chains annually.
If we all start now, we can avoid future exposure to injury from chain failure on the scene of an emergency incident. We will begin to eliminate what may be the weakest link in our vehicle rescue system, the rescue chain assembly.

