by Tim Pillsworth
From the personal protective equipment e-Newsletter, sponsored by
In my article “Specifying PPE from A-Z,” I outlined how to research, specify, conduct user reviews, and purchase new personal protective equipment (PPE). In this article, I will review the technical aspects of PPE that you must consider to ensure a successful turnout gear purchase. All the information you could ever need can be found online through the multitude of gear manufacturers’ sites and a copy of National Fire Protection Association (NFPA) 1971, Standards on Protective Ensembles for Structural Fire Fighting and Proximity Fire Fighting. However, this article will highlight the most important performance characteristics and some personal preferences based on experience for good, safe, and cost-effective design for your PPE.
First, let’s begin with the science or technical aspects of the gear. There are many tests to determine the level of protection your PPE will offer you and the durability it will have over its service life. Remember that all gear with the NFPA label attached meets the minimum standards. The two general forms of tests determine the durability and level of protection the garment offers. To understand each test in detail, read NFPA 1971. To compare different technical aspects of your gear, you first must understand in practical terms the purpose of each of these tests, their criteria, and their value in the design of your gear.
Trap Tear Resistance. This test demonstrates the ability to resist damage by being torn. The test simulates the type of damage your gear will sustain if you catch your coat or pants on a corner or nail and pull. The higher the value of the test, the better the shell will withstand being torn. Many of the newer materials that have a blend of two or more materials in the fabric or a matrix will typically have higher test results.
Taber Abrasion Resistance. This test demonstrates the ability to resist damage from an object rubbing against the outer shell and reinforcing materials. This test will simulate the damage the knees or cuffs most likely will sustain if you crawl or your cuffs rub against objects. The higher the value, the longer it will take for the material to wear through.
Conductive and Compressive Heat Resistance (CCHR). This is a relatively new test to determine how your garment in the knee and shoulder areas will protect you from heat while they are compressed by your knees or SCBA. The test uses a sample from both areas of the garment and places all three layers together between a hot plate and compression weight. The temperature of the plate is raised to 280ºC and a pressure of 2.0 psi for the shoulders and 8.0 psi for the knees is exerted on the sample. The test determines the time it will take to have the temperature rise 24ºC (75ºF) on the thermal layer side of the sample with a minimum NFPA value of 13.5 seconds. The higher the value, the greater the protection in your shoulder and knee areas.
Total Heat Loss (THL). This is the ability of your PPE to release heat away from your body (to breathe) or release heat generated by you in the gear. The NFPA minimum is 205 W/m (watts per square meter–watt is a measure of heat much like a light bulb). Practically, if your gear cannot breathe, the heat generated by your body and the heat absorbed during firefighting operations will be trapped next to your body, increasing body temperature and increasing stress. Typically, the higher the value, the better the gear will release trapped heat and will be lighter in weight.
Thermal Protective Performance (TPP). This is the level of protection your PPE will offer you against heat with a NFPA minimum value of 35. The TPP value divided by 2 will signify the amount of time it will take for your skin to receive a second-degree burn in a flashover event. For example, if your TPP value is 40, you could expect second degree burns in 20 seconds in the event of a flashover.
The test places the garment with all three layers together with a temperature sensor on the inside next to the thermal liner and a radiant and convective heat source on the outside next to the outer shell to replicate a flashover. Placed between the heat source and the outer shell is a shutter to control the exposure time to the heat source. The outcome of the test is plotted on a graph and is overlaid with a Stoll’s curve, which shows when the skin will blister or burn. Where the two graphs cross is the TPP value of that garment.
In general, as the TPP increases, the gear will have higher thermal protection and most likely be heavier, while as the THL values increase, the gear will release heat (breathe) greater and most likely be lighter. The relationship between the two would be as the TPP increases, the THL will decrease. It is not a direct and linear relationship but does show how your gear will perform in keeping heat from the fire out and moving body heat away from you. This relationship between the TPP and THL could come into play depending on the climate in your area. If you live in the northeast, summers are hot but not to the extent or length as the in the southeast or southwest. So the possible greater need to release more of body heat over a longer period could push you to desire PPE with a higher THL, which would typically reduce the TPP value. You will need to find a compromise between the two for your needs.
The three areas of your PPE that give you protection are the outer shell (abrasion, flame resistance, and limited moisture penetration), the moisture barrier (water/fluid penetration, moisture control/removal), and the thermal liner (thermal, donning/doffing, comfort, moisture control). Together, they work with a synergistic effect to offer you the level of protection you require. So if you change one of the three layers, the overall changes to TPP or THL might not be linear. The three different layers are the largest cost parts of your gear, so changing one of these layers can greatly increase or decrease the overall cost of you PPE.
Using the information and tests described above, you can evaluate the relative differences between the various types of shell materials, thermal liners, and moisture barriers from which you have to choose to design gear that best suits your department’s needs. Understanding these basic tests will also help you evaluate proposals from gear manufacturers that may have or will bid on your gear.
Options are what make the gear work for you and your department. Following are some options to consider.
Option #1: Reinforcement
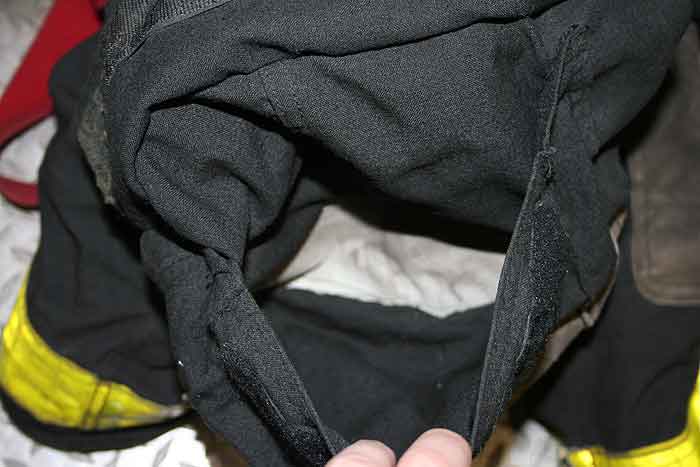
Your gear is a significant investment; therefore, it is important to protect the areas of your PPE that are prone to damage from abrasion. Coat cuffs, pants, and knees need additional protection to extend the service life of your gear. There are three general types of reinforcement: additional layers of outer shell material known as self-material, specialized materials, and leather.
The lowest cost and level of protection is an additional layer of self-material. It is not any stronger than the outer shell; it just places a sacrificial layer of material on the outside that will sustain damage before the outer shell does. However, it is important to note that if both the coat and pants are sized and worn correctly, they will not suffer unusual wear. The low cost of this option can be a reasonable choice in the cuff areas if you remain diligent on the sizing of the gear. The self-material is lightweight, stays pliable over time, and can be repaired if damaged. When it becomes worn, it can be removed and replaced by the factory or a factory certified repair facility.
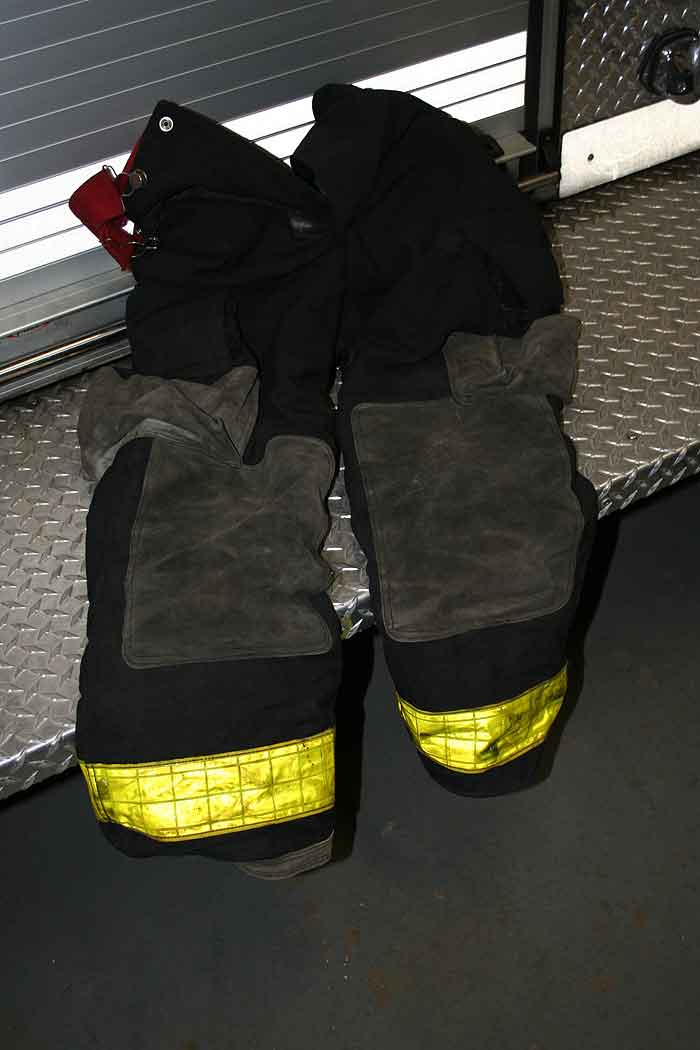
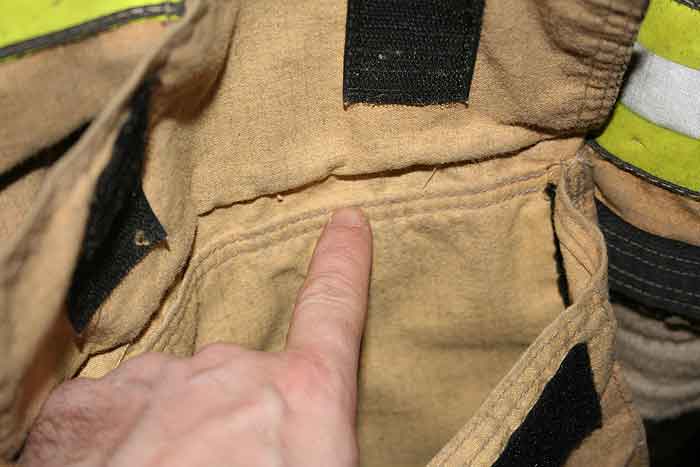
As for the knees, I do not recommend self-material as the reinforcement. First, it is not as strong as other forms of reinforcement, so the longevity suffers. The new outer shell materials are extremely strong and can withstand damage and wear and tear much better, but the padding typically added to the knees for comfort and protection will absorb water. During fire operations or in inclement weather, this water will add weight, increase the chance of steam generation, and delay drying times once you doff the gear. To help with the drying and wear issue, some manufacturers have made the self-material knee pads removable with the use of fasteners. When wet or damaged, they can be removed and replaced. Before going with this approach, consider the cost of purchasing additional pads and compare with the costs of different methods of knee reinforcement and protection (photo 1).

(1) Removable knee pads are held in place with hook and pile fastener and snaps and can be removed to dry or replaced when damaged. Photos by author. Click to enlarge
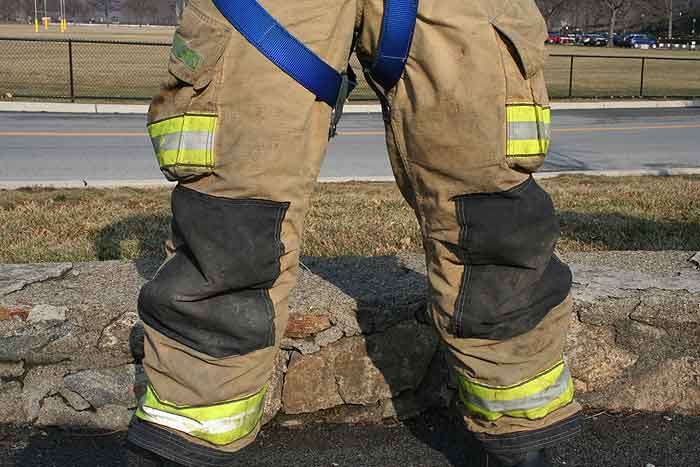
A second and popular form of knee and cuff reinforcement and padding is leather. By far, this is the strongest and longest lasting reinforcement for any part of your PPE. The cost of leather is not much higher than the self-material and less than most of the newer specialized materials. As good as leather is, it does have two major drawbacks. First is its reaction to water and time. When leather is exposed to water and dries, it will become less pliable and will not return to its original shape. Over time, the greater number of the wet-dry cycles will make the leather stiffer. Second is the ability to remove any contaminates such as oil, fuels, chemicals, and blood. The leather absorbs these materials and removal from the garment is difficult at best. Additionally, with continued cleanings, treatments applied to the leather to repel water can be removed, leaving the leather as an effective sponge at the next fire. The cleaning process in general has improved in the recent past with better products and PPE treatments, but it still does pose some important considerations (photo 2).
(2) Leather reinforced knee pads show little damage but are not soft and pliable and are difficult to clean. Click to enlarge
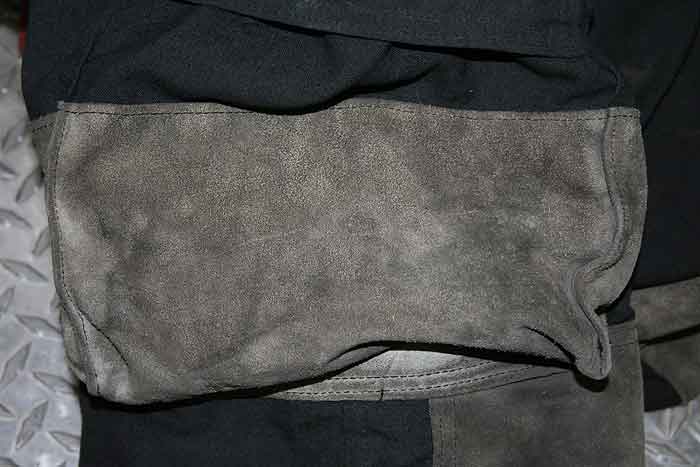
The third and, in my opinion, the best type of reinforcement for the knees and cuffs is the use of material specifically designed reinforcement materials. These materials have been used in the military for years and are approved for the fire service to protect the vulnerable areas of your gear. The downside of these materials is the higher cost at the time of purchase. The pros are that they are approaching the same levels of protection as leather, do not absorb water, and are easy to clean and decontaminate. Two items that will assist in offsetting the initial purchase cost is the cost of life cycle repairs to the garment and the purchasing of additional knee pads. Research your past records on repairs and maintenance for your PPE; you might be surprised how costly these repairs have been. Could a small investment up front have save costly repairs later (photo 3)?
(3) Knee reinforcement and pads with Dragonhide®. Click to enlarge
Many departments place additional reinforcement on the elbows, shoulders, and pockets of the pants and coats in the thought that the firefighter will be better protected. Additional layers of material, whether self-material, leather, or one of the newer materials, will increase the cost of the garments while offering limited benefit to the firefighter (photos 4, 5).
(4) The leather reinforcement on the outside of this pocket is stiff with age. Click to enlarge
((5) The inside of the pocket has additional leather reinforcement, adding to the weight and cost. Notice how little damage is evident on the leather, even in these old pants. Click to enlarge
Most manufacturers place additional layers of self-material in all pockets under their standard design. With the additional protection already offered, why add more? If you are carrying any tool in your pockets that can damage the gear, it should be in some type of sheath to protect the gear and you from damage (photo 6).
(6) A standard additional layer of self-material (outer shell) on the inside of the pocket is part of the standard design on this and many coats.Click to enlarge
As for the elbows and shoulders, abrasion in these areas is typically not a problem. I hope you are not encountering abrasion on your shoulder. If you are, what are you doing? Additional padding and thermal protection are important in the shoulder area and are in the standard design of the gear; more is easy to add. As for the elbows, abrasion can and will happen but not to the levels noticed with the knees, so the need for additional materials is not normally required. These are two areas where the reduction or elimination of the extra material will reduce the cost and weight of the PPE.
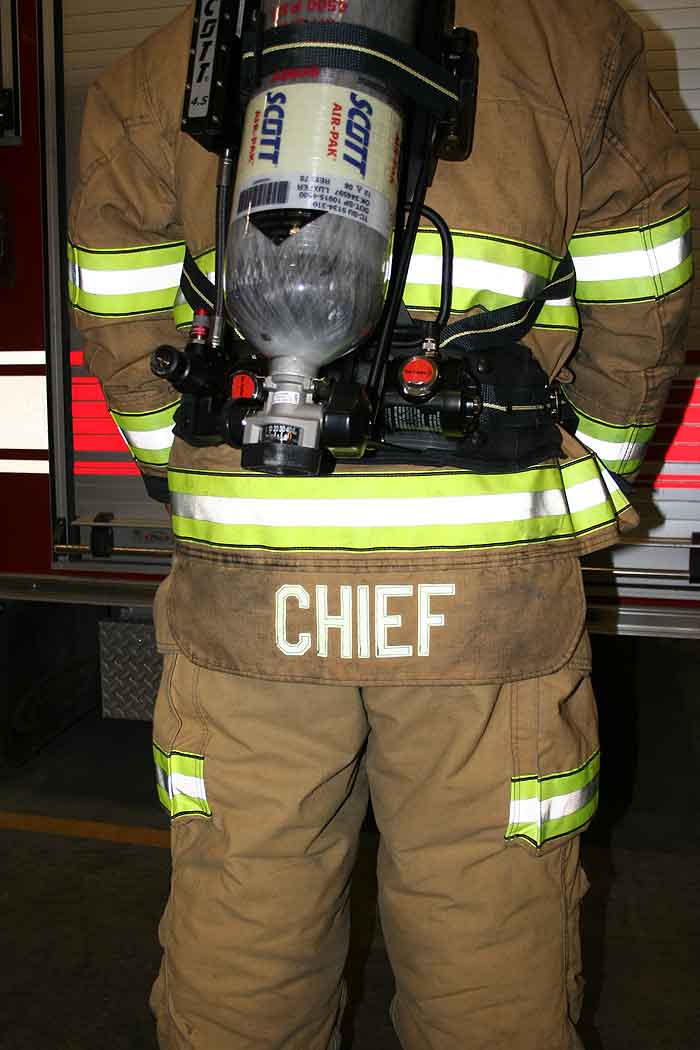
For additional protection in the shoulders, most standard PPE design has an increase of thermal protection in the shoulders with a TPP value from 60+ up to and above 120. With the greater layer of thermal protection in the shoulders (TPP), the ability to release heat (THL) will be reduced in the shoulder. Addition of layers of fabric for reinforcing will have a negative impact on the THL. Choose carefully based on your local needs.
Option #2: Reflective Materials
The amount and placement of reflective materials on your gear are highly regulated under NFPA 1971, Section 6.2.3. The layout of the reflective materials must at a minimum match one of the layouts provided in the standard. In addition to the NFPA minimum requirement, many departments place additional reflective material on their PPE for the safety, appearance, and identification of their firefighters. The addition of “extra” stripes, letters, and numbers will not only make you more visible and identifiable; the more you add, they higher the cost. So think what you want vs. need. Safety is always first; identification is second.
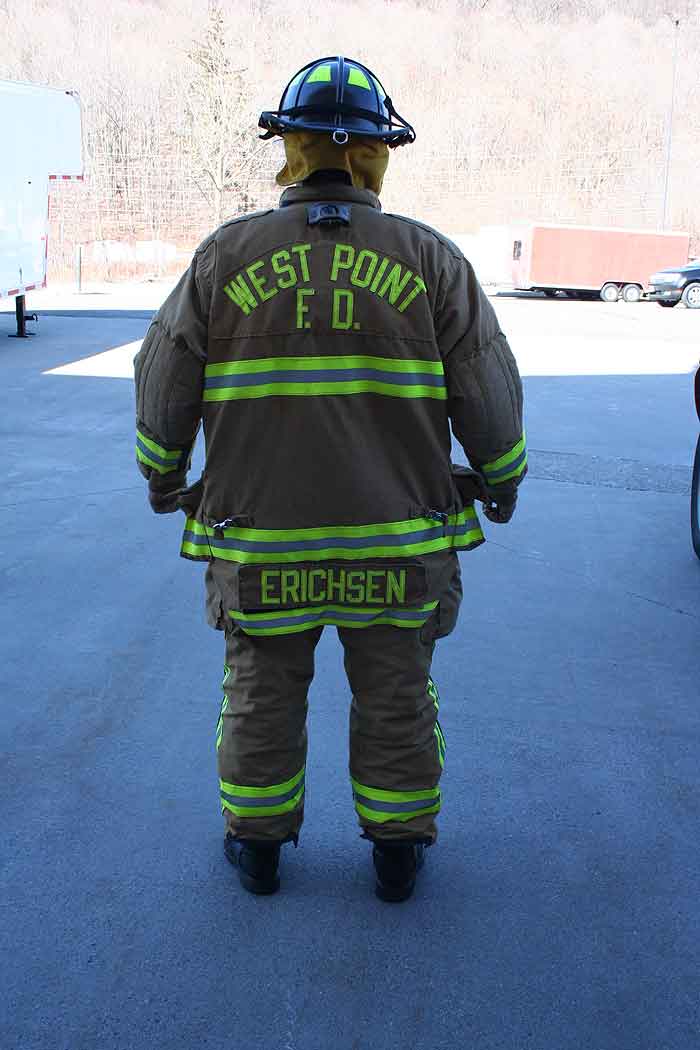
You want and need to be seen on a roadway, in a fire building, and on a roof. When you are visible, you are typically safer. So take a firefighter, have him don an SCBA, and see what areas of the turnout coat’s reflective trim you can see. The more traditional horizontal band across the back works great without an SCBA but is limited in visibility with one donned. You will need to make a choice. The traditional horizontal stripe is typically lower in cost but can be obscured by SCBA. Also, if you are planning on placing names on the back, either department or personal, if they are long, they might not fit between the vertical stripes.
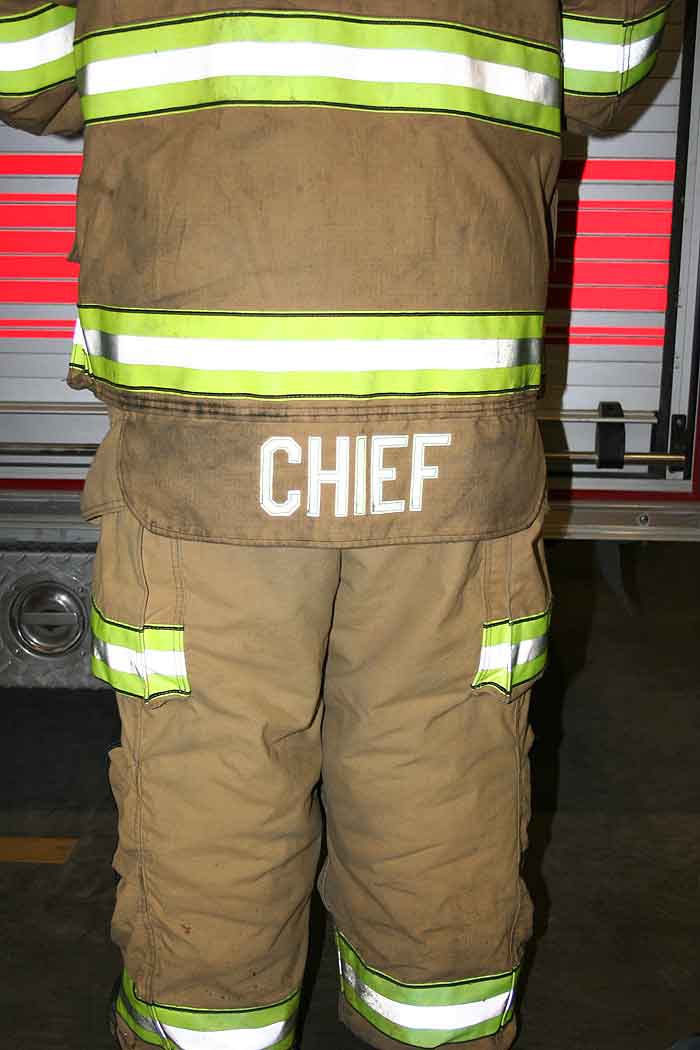
My department went with a traditional design for the coat but decided to add reflective material in two areas. First was a bottom-of-coat name tag. Depending on the manufacturer, it will be a hanging tag, part of the coat itself, or possibility placed just above the hem of the coat. This is a great location for personal identification. It adds additional reflective material to the coat that can be seen while wearing an SCBA and puts a name to the firefighter. For a total cost of $2 to $3 per letter for a total of around $30 to $40 per firefighter, this is a good option (photos 7, 8).
(7) Notice how easy it is to see the name and in this case the title even with the SCBA donned. Click to enlarge

(8) The name tag with a different type of attachment. Click to enlarge
Additional reflective material can also be added to the pants. On some of the pants offered today, a single long stripe can be added down the sides of the legs (photos 9, 10). This offers a large increase in the area of reflective material in profile. One problem with this location is that with many of the new pants, a seam located on the outside of the leg does not allow room for the vertical stripe. To work around this, in my department’s specification, we added material across the pant bellow pockets. This was developed though discussions with the technical representative from the gear manufacturer. This placement solved two issues. First, it is noticeable from the profile and also from the front/rear because the bellow pocket has a two- to three-inch depth and the reflective material wraps around the pocket. From the side, it has almost as much area as an entire leg stripe and additionally offers some visibility from front and rear (photos 11, 12). So far, it has worked well for us. An additional advantage is that since we were the first to do this in our area, we know that any firefighter with a pocket stripe is one of ours.
(9) The vertical leg stripe adds a large amount of additional reflective material in the profile for firefighter safety. Click to enlarge
(10) However, the vertical leg stripe cannot be seen from the front/rear. Click to enlarge
(11) The pant pocket stripe from the side adds additional reflective material from the side and front/rear. Click to enlarge
(12) The pant pocket from the rear. Note the amount of reflective material that can be seen from the rear. Click to enlarge
Option #3: Thermal Liner/Moisture Barrier
This layer is designed to protect you from the heat of the fire. The outer shell does offer some thermal protection but not to the levels of the thermal liner. Also, the comfort factor is significant. Having a liner that allows for easy donning/doffing, wicks sweat away from your body, and allows for easy movement because of the internal surface will reduce firefighter fatigue.
With the cost of the materials varying greatly, the two areas you should spend more money on to receive the best benefit for your dollar are the thermal liner and the moisture barrier. Why spend more for the moisture barrier? You want and need to stay dry and comfortable. By limiting the amount of moisture into the garment, there is less of a chance of steam burns. Second, some of the lower cost moisture barriers are not rated for bloodborne pathogen (BBP protection). Spend the money and protect your firefighters from any chance of burns and illness.
Option #4: Outer Shell
The outer shell is important but can represent a costly portion of the overall expenditure. The highest listed materials for abrasion, tear, and flame/heat resistance are also the highest in cost. You do get what you pay for, but with the exception of the wear areas of your gear (knees, cuffs), when have you torn or put a hole in your gear? Most of us do not respond to multiple structure fires or heavy rescue calls every week, so the chance of wearing out the gear even over a few years is typically not an issue. I would not go with the lowest-cost outer shell, but if there is a need to reduce the overall cost, some of the outer shell materials in the middle range offer the protection you most likely would need at a more reasonable cost.
Option #5: Color
One item of contention is the color of the outer shell. Over the past 10 to 15 years, the newer high-end materials created do not or cannot accept dyes; this is why there is such an increase in the tan or natural-colored PPE. Therefore, keeping the traditional black gear-which, in some cases, can cost $200-300 per set–is an expense that many can do without. In difficult times, spending extra money just to get a color might not appear to be fiscally responsible to the taxpayer. It will not make the gear any better or safer or last any longer. In fact, it hides contamination and will absorb more heat in the summer sun. If you want to increase the level of performance of the outer shell and reduce some cost, don’t worry about the color.
Option #6: Accessories
I could write an entire article or maybe even a book on this subject, but let’s narrow it down to some simple personal preferences. First, the more you add, the higher the cost and weight. Second, ask the simple question: Is this something I want or need?
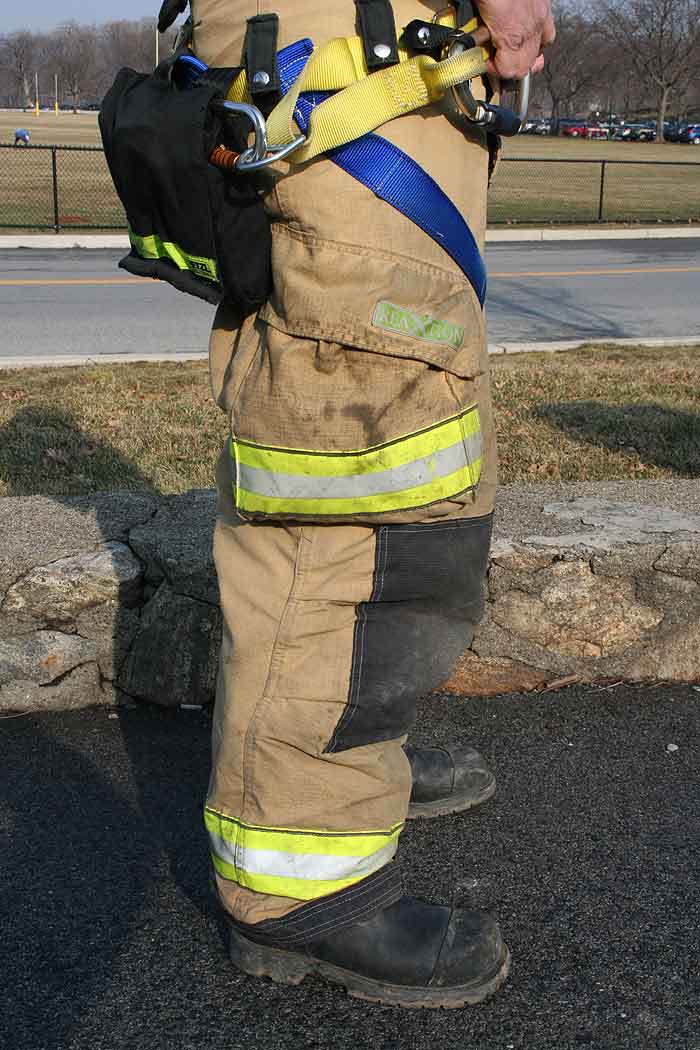
In “Specifying PPE from A-Z,” I discussed radio pockets and light attachment loops and how they must meet your need and department’s requirements. My personal preference is to not use any metal clips or D-rings for any options for accessories. The weight and cost of the metal vs. a fabric tag is minimal, but the metal will absorb heat and will be a greater entanglement risk compared with a fabric strap. If you issue personal flashlights, SCBA masks, or some form of a glove keeper, a small tab in the area of the pockets appears to work well (photo 13). First, this area will be somewhat protected by the waist strap of the SCBA and pocket. Second, it is in the way enough to make the user remove the face piece bag or glove holder before operations. For safety, remind members to leave the bag in the jump seat once at the call to eliminate any entanglement hazard.
(13) The glove/face piece bag tab keeps your gloves or other small equipment at the ready, and you can easily remove it from your PPE for safety during operations. Click to enlarge
For the option of closures for both the coat and pants, it is a personal choice. Some prefer zipper with hook and pile fastener; others prefer D-ring with hook and pile fastener. Both have their advantages and disadvantages. The zipper is very quick and easy and ensures complete coverage, but if it becomes damaged, there is no hope of closing the coat. The D-ring closure offers a location to attach gloves or a knife, but if one of the rings becomes damaged, the supplementary or secondary fasteners will keep the coat closed. The only item I would avoid is the use of snaps as the supplementary attachment. They are the slowest to don and are ignored many times for the sake of speed.
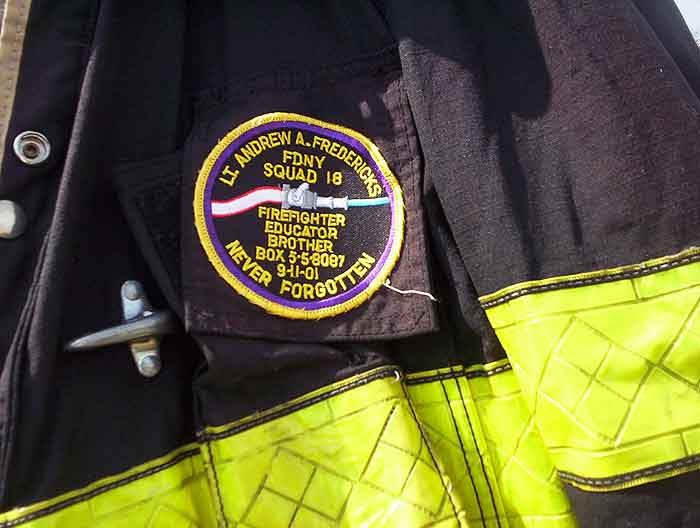
Option #7: Patches
One option that many departments choose is the placement of a patch somewhere on the coat either on the shoulder or the radio pocket. This could be an American flag, company patch, or level of medical certification (photos 14, 15). The cost of many of these patches is only $3 to $5, but the attachment is important. It is best to have these attached to the gear at the factory or by a certified repair facility. If each member sews a patch on the outer shell or moisture barrier, it could be damaged or the incorrect thread could be used. At the patch location, there will be an increase in the THL values and possibly be a heat sink because of its material. So the placement and control are important.
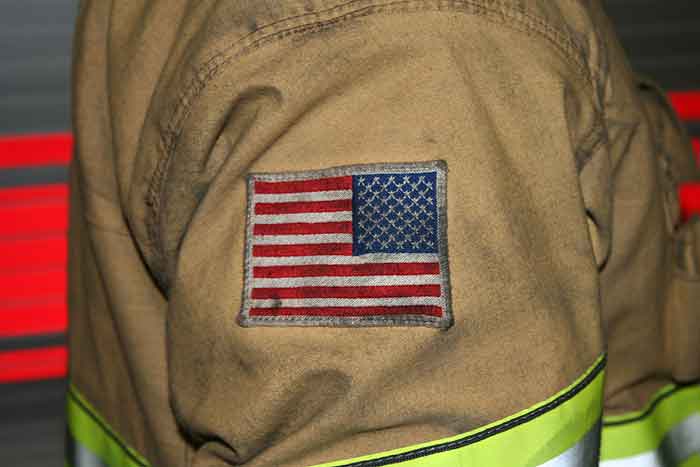
(14) An American flag patch. Click to enlarge
(15) A symbolic patch. Click to enlarge
If you operate during long periods of cold weather, hand-warming pockets are a nice feature. Some manufacturers designs this is a standard part, while others consider it an option. We didn’t think much of this until we took delivery of our new gear. In the middle of a Northeast winter, a place to get your hands warm and dry is a nice creature comfort.
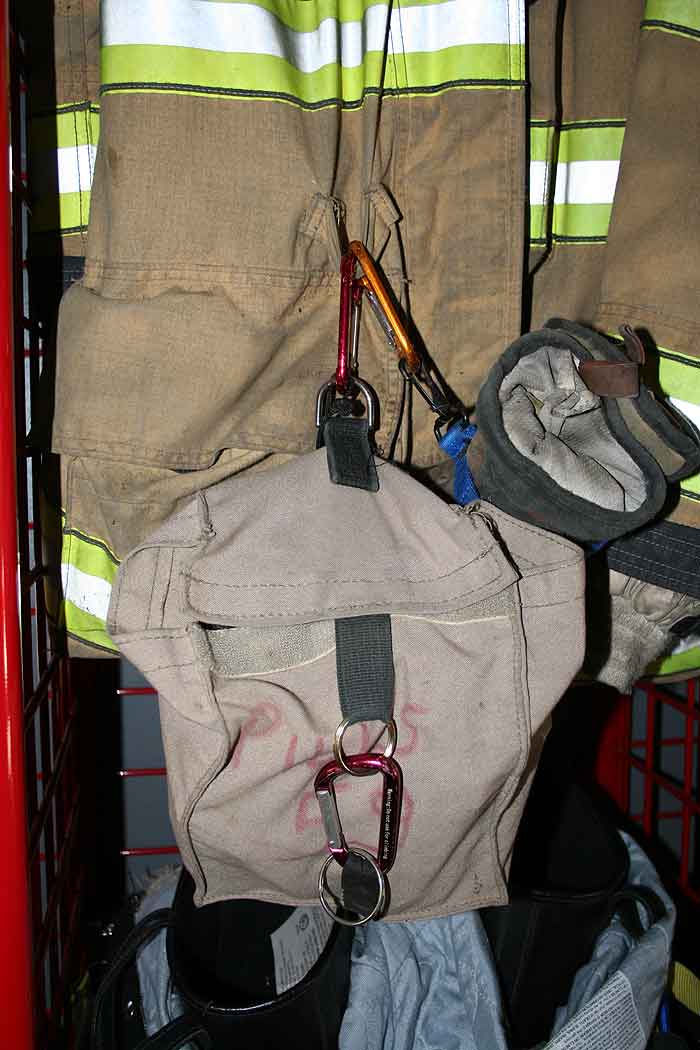
Some options I would avoid adding to your gear. First is the attached face piece pouch. The pouch is large and protrudes from the coat; once the face piece is remove for use, there is a large amount of extra material to get entangled. The cost of the pouch can be high, so if you issue personal face pieces, purchase a separate bag that can be attached onto a loop on your gear and removed at the alarm (photo 16).
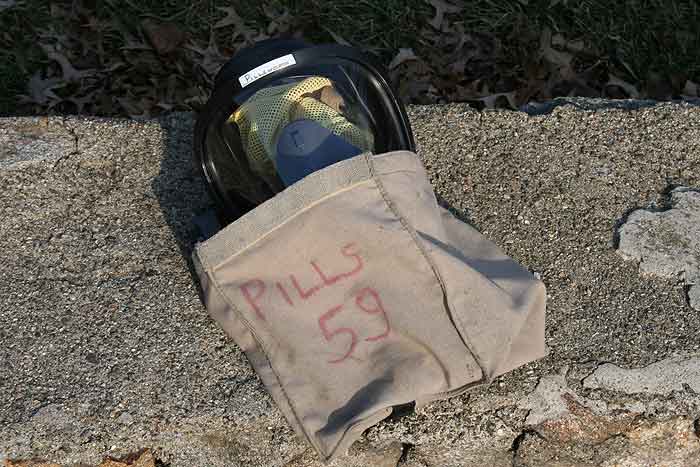
(16) A personal face piece bag will keep your personal face piece safe and clean and allow you to remove the bag from your PPE when SCBA is not required or your face piece is donned. Click to enlarge
Next are zippered legs, unless you use lower-laced structural boots. If you wear pull-on leather or rubber boots, why would you want to add bulk, weight, cost, and a feature you do not need? If you do use the laced structural boots, this will make donning your pants much faster and easier.
Additional options on the pants are a cuff take-up and a waterproof cuff. Both restrict the ability of the pants legs to move freely up and down along the boot during your normal body movements such as walking, climbing a ladder, and crawling. They will work their way up your leg until the pant is over the top the boot and will not return to the proper location until you pull it down by hand.
A thorough understanding of the components, how they are tested, and how they perform are critical to specifying, evaluating, and purchasing turnout gear. Remember that your gear is your gear. Consider why you are buying it, the environment you will wear it in, what you want it to protect you against, and how long you expect it to serve you.
Many of the ideas above are just my personal preferences, but you can use them in the design and specification of your PPE. Remember, the gear you purchase today will be with you for some years to come, so do the work now and you will be happy, comfortable, and safer. Finally, always don your PPE correctly and at every alarm; you never know when it might be tested with you in it!
TIM PILLSWORTH is a 23-year veteran firefighter/EMT and a former chief of the Winona Lake Engine Company #2 in Orange County, New York. He has presented at FDIC East and has contributed articles to Fire Engineering. He is the author of the PPE Chapter for Fire Engineering’s Handbook for Firefighter I and II (Fire Engineering, 2009). He is also a civil engineer at the United States Military Academy in West Point, New York.
References
“Standardize Tools and Placement,” by Tim Pillsworth, Volunteers Corner, Fire Engineering, July 2008, p.14.
NFPA 1971, Standard on Protective Ensembles for Structural Fire Fighting and Proximity Fire Fighting, 2007 Edition.
Special thanks to the following for assistance and modeling:
William Erichsen, Firefighter, West Point (NY) Fire Department
Jerry Knapp, Fire Instructor, Rockland County (NY) Fire Training Center
Chris Reed, Assistant Chief, West Point (NY) Fire Department
Vinni Spampinato, Chief, Orange Lake (NY) Fire District

