Escape House Program Teaches Survival
FEATURES
FIRE PREVENTION
When the Centereach, NY, Volunteer Fire Department held its annual open house last year, the activities included blood pressure tests, fingerprinting of children (the parents received the only record), and “Blinky the Fire Plug”—a walking, talking fire safety robot—who answered questions. The highlight of the day, however, was the new Escape House Survival Program.
The escape house is a walkthrough demonstration designed and built by the Centereach Fire Department. The participant comes face-to-face with a simulated fire situation and must determine the correct way to “escape.” The home, designed as a bedroom with a hallway (see floorplan on page 37), was built inside a construction trailer measuring 16-feet long X 8-feet wide X 7-feet high.
The entrance door of the escape house leads into the bedroom, but the inside of this door is paneled to match the walls and is not used as an exit. The bedroom has one small window (one-foot high X two-feet long), a door leading into the hallway—the primary escape route but an untenable choice in our example—and one large double-hung window (30-inches wide X 56-inches high). This secondary escape route is the eventual way to safety.
The bed is a paneled wood frame bolted to the wall. The top is hinged, allowing the bed to double as a storage bin. The floor is carpeted to protect the children when crawling.

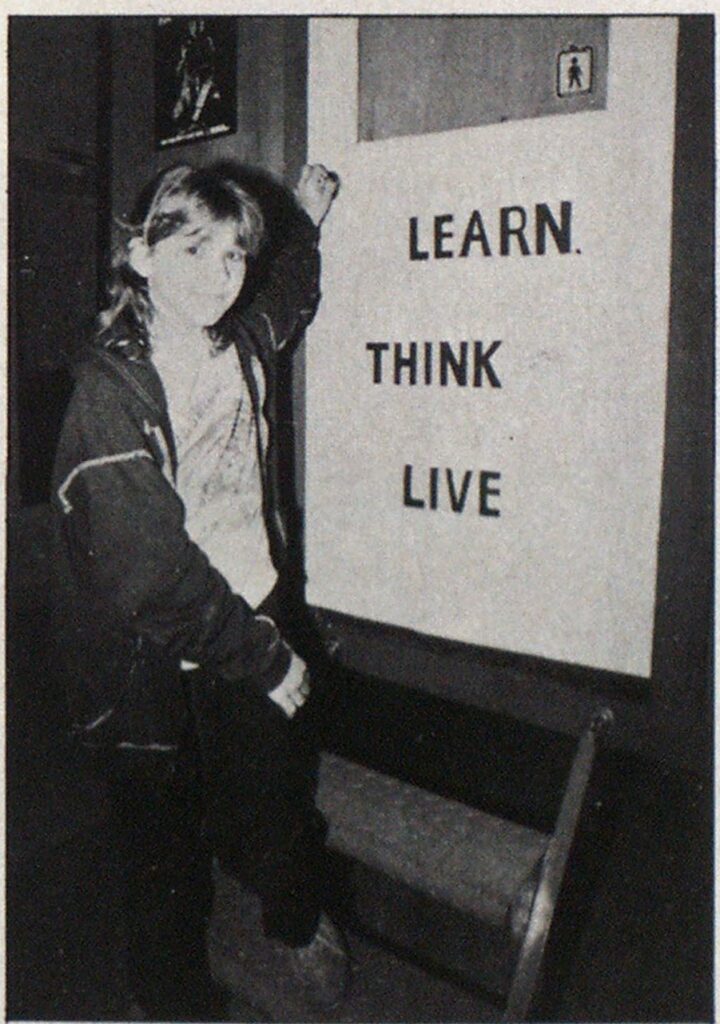
Photo by C.Gus Maffectore
The hallway is narrow (30-inches wide), has one small window for ventilation, and a door at the other end. Behind this door is a piece of Plexiglass spray painted red and back-lit by three yellow bug lights. This produces a realistic fire effect. A chamber above this area fills with non-toxic smoke produced by a Rosco Smoke machine.
The hallway is heated and illuminated by an infrared heat lamp in the ceiling. Four flickering lamps are also installed in the ceiling to give the impression of flames. Since all the windows are blacked out to simulate nighttime, the only light in the bedroom comes from a four-watt night-light.
In addition, there are two 100watt lights, one in the hallway and one in the bedroom, that can be switched on to calm down an overly frightened participant. These and all the other automatic devices are switch-controlled by the instructor who stays inside the escape house with the volunteer.
Before going through the escape house, each participant must attend a 20-minute class outlining Operation EDITH (Exit Drills in the Home) and the procedures to follow once inside. Since it takes about one minute for each person to go through the trailer, a session for 30 people usually lasts about one hour.
Setting up the escape house is easy. All the windows are shut, the heat lamp is turned on, and the smoke chamber is filled with smoke. The evolution of steps once inside the trailer seems elaborate, but is actually straightforward and follows a logical sequence.
The participant enters through the front door and lies down on the bed. The instructor switches on the smoke alarm. The volunteer then proceeds through the following sequence of events. If any steps are skipped or done incorrectly, the instructor explains the mistakes and corrects them immediately. The participant:
- Rolls off the bed onto the floor;
- Crawls over to the hallway door;
- Feels the door (low, high, then the doorknob) with the back of his hand;
- Opens the door slowly and checks out the hallway;
- Crawls down the hallway. If he stands up, he will notice the heat and possibly be confronted with smoke;
Continued on page 37

Photos by C. Gos Maffetore
Continued from page 35
- Feels the next door the same way as the first;
- Opens this door carefully. Fire (simulated) and smoke are met at this opening;
- Closes this door quickly. The hallway is filled with smoke but it is up near the ceiling;
- Crawls back into the bedroom and closes the door to keep the smoke and fire out;
- Crawls over to the doublehung window and opens it;
- Climbs out into the waiting arms of a fireman;
- Goes to the designated meeting place where he receives an award. He can choose either a button or a sticker. Both are inscribed with the words “I Survived” in the center of a maltese cross.
We have found that after several hours of constant use, the heat that is generated behind the fire door builds up to a very high level. To prevent this, the instructor switches off the heat lamp in Step 7 and switches on the simulated fire lights as the door is opened. The simulated lights remain in use until the hallway/bedroom door is again closed and the participant is heading toward the window.

Another potential hazard is the residual smoke that remains up near the ceiling after several people have gone through the trailer. When the smoke gets too dense, the window is opened to clear it.
The trailer chassis gives the project portability and makes it very convenient to take the program to schools and other events throughout the community.
For more information on building and/or using an escape house, write to: Centereach Fire Department, 9 South Washington Avenue, Centereach, NY 11720.


