
A few months ago, we looked at the different types of standpipes found within structures and the types of structures that they are found in. For those fire departments that have standpipes in their response area, a standpipe tool kit needs to be assembled and brought along with the high rise or apartment pack. The standpipe tool kit will aid the hose pack that is being brought inside the structure. The kit will provide complementary equipment that is sometimes needed to make the connection, advance the hose, communicate, or add other hoselines.

In photos 1 (top of page) and 2 (above), you can see two variations of a standpipe tool kit laid out showing the assortment of equipment that is sometimes needed. This equipment needs to be included with the high-rise or apartment pack as a basic tool—they complement each other. The standpipe tool kit needs to be located with the hose pack as depicted in photo 3 (below). This allows for quick and easy access for either one firefighter or for a team of two to three. The tool kit should be in a bag that has a shoulder strap for easy carrying. It should also have a wide opening allowing for easy access into the bag. Reflective stripping can be sewn on to make it visible in darker/smoky environments.

The standpipe tool kit needs to be loaded with just the essential items that will be used on a semi-regular basis. Loading the kit with everything imaginable will only weigh the kit down, making it heavier and impractical to carry. A good idea is to evaluate the kit every year to determine what was used in that year and what was not used. Then determine if those items not used are essential. If they are, include them again for the next year. If not, remove them from the kit. Items removed can also be replaced with other items that may prove to be of operational value.
Let’s look at what items should be included in the kit. Using photo 1 as a guide, let’s start with the top left-hand side and work our way counterclockwise. The first items shown are door chocks. This item will prove valuable when trying to maintain an open door for hose advancement. The size of the door chock is big rather than small, allowing for easier handling. Larger-sized chocks provide more surface area for holding the door. The item next to the door chocks is an elastic door latch cover. This item will prevent doors from locking shut, allowing for a door to be opened just be pushing against it rather than having to feel for the doorknob and then turning it.
Some departments add a gated wye valve to help with adding another hoseline for attack purposes. This is when a 1 ¾- or 1 ½-inch handline is being used for the high-rise kit. This hose size is not recommended for any standpipe operations as well as the use of a gated wye. There are too many failure points exposed when using a small hose system along with the appliance.
An assortment of adapters needs to be included. The photo shows a double female, a double male, and a reducer from 2 ½- to 1 ½-inches. Depending on the standpipe configuration and the hoseline set up desired, these adapters will help. Another fitting that is good to include is a 45-degree elbow, as shown in photo 2. This allows the hose connection to be angled downward instead of kinking downward. It also allows firefighters to compensate for space/location configurations. The elbow pictured also has a bleeder valve, which allows the user to bleed off the excess pressure when shutting down operations.
If responding to a mutual aid department call, adapters for different thread configurations can also be included. Some departments will have their own thread specification, which may be different from the mutual aid department. Having the adapter to allow for connection will be valuable.
The kits show two styles of hose straps that are included. Hose straps will help with the advancement of the hose in stairwells and/or over edges. In a stairwell, if the hose needs to be advanced over the railing going up, the hose strap can be used to prevent the hose from sliding down as gravity wants it to. It will help to maintain hose positioning without committing a firefighter. This can also be done with a well stretch where the hose becomes a standpipe in a stairwell as it is vertically advanced between the handrails. This will cut down the amount of hose needed to advance by eliminating the stairs and frees up the stairs as well.
The hand tools (spanner wrenches) included will help with tightening and loosening different fittings. On the standpipe, the cap on the outlet may be seized because of rust or if it was tightened too much by a previous person. The spanner wrench will help with getting it off.
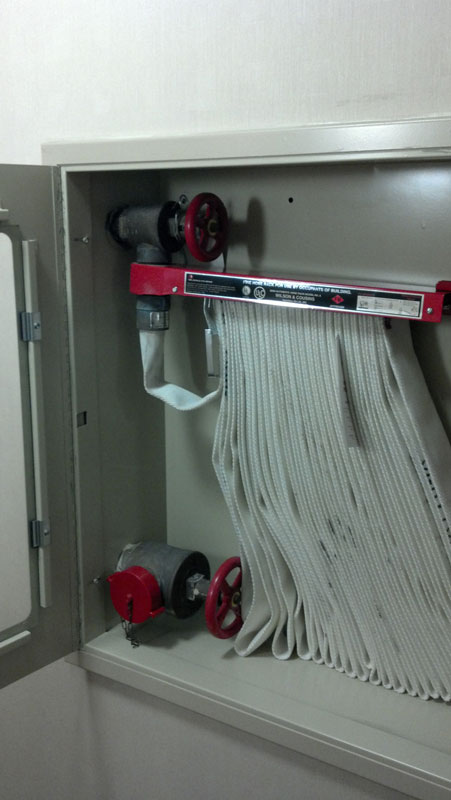
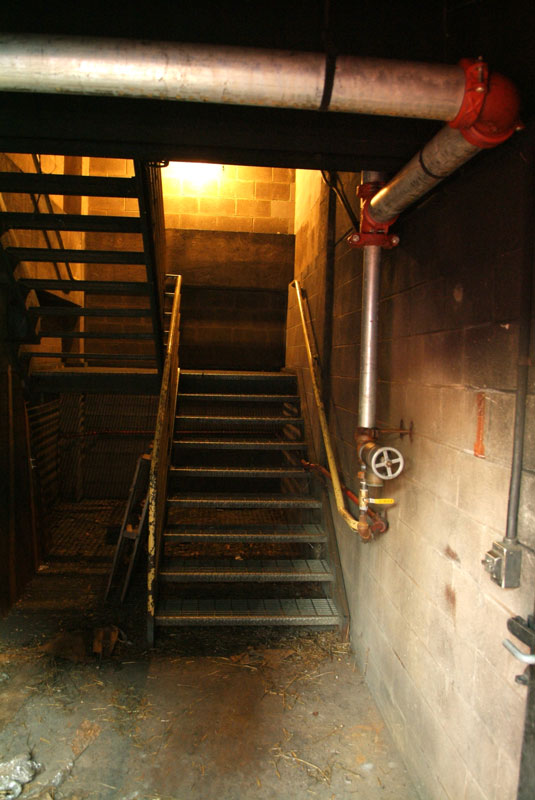
The vice grips are also a helpful tool. This tool will help with opening the standpipe outlet to allow water to flow. Sometimes the wheel used to open the outlet goes missing or breaks off because of old age, being on too tight, or just loose. The vice grip can be used to clamp onto the stem of the valve and then turn the stem to open it. Photo 4 (above) shows the wheel on the 2 ½-inch bottom outlet in a hose cabinet. It would take a bit of work to use a pair of vice grips to turn the stem, but it can be done. If the valve is on a standpipe in a stairway (photo 5, below), there will be more room for the vice grip to turn the stem to open it.
The last item shown included with the kit is a communication device. Some buildings will have a communication system built in that will allow firefighters to communicate to a central point. The handset gets plugged in to a jack near the standpipe, which then becomes a two-way phone system. This is great for communication when portable radios are ineffective.
There are other tools or pieces of equipment that can be added to the standpipe tool kit that we have shown but not discussed, such as a spare nozzle and tips, the 2 ½-inch gate valve, and the 2 ½-inch pressure gauge. Next month we will look at these in more detail as to why they ought to be included in the standpipe tool kit.

Mark van der Feyst has been in the fire service since 1999 and is a full-time firefighter in Ontario, Canada. He is an international instructor teaching in Canada, the United States, and India, and at FDIC. Van der Feyst is a local level suppression instructor for the Pennsylvania State Fire Academy. He is also the lead author of Residential Fire Rescue (Fire Engineering Books & Video).
MORE MARK VAN DER FEYST
Truck Company Ops: Victim Removal Down Ladders, Part 1 | Part 2
Back to Basics: Pulling the Flat Load Off the Rig
Back to Basics: Helicopter Safety
Truck Company Operations: Using the Rotary Saw, Part 2

